Tuesday, September 11, 2012

Never Forgotten!

NEVER FORGOTTEN
Photography by Liz Smith-Breslin

I am excited to introduce to you Liz Smith-Breslin part owner of The Blue Bungalow Store  in Rockaway and her online store.  Liz grew up in Rockaway Beach and has been inspired by the beach to create her photography and artwork.  The photography of the "Never Forgotten" flag was influenced by her fiance she had lost on 9/11/01.

Her store has beautiful beach writings created by Liz  and coastal art created by her partner Jeanne Jamin. Their store is filled with cottage and coastal lifestyle furnishings, unique gifts, home decor and accessories.  


Liz's home also carries a charming coastal cottage flair.


Beautiful cozy master bedroom...
She gave her unattractive garage a fabulous cottage look with a few cans of paint.
A large white tent in her backyard creates a cozy area to hang out.
Beautiful home decor accessories you can find in her store also adorns her home.


If you come to visit the best beach in New York, make sure to visit The Blue Bungalow Store, you won't be sorry… There is something for everyone!

I am saying a prayer for our heroes, the lives that were lost and all who lost a loved one eleven years ago today!

God Bless America!


Heather's home remodel...

I am so happy my best friend Heather and her family finally moved to my "neck of the woods" this summer.  She loves going to the beach almost everyday, so it made sense for her to live by the beach.  She is a total beach loving sun worshipper!
The homes in my neighborhood is either old and needs ton of work and cost slightly under a million dollars or cost million dollars or above and is renovated to suit someone else's taste.  It took almost a year to find the right home for them and they did. They decided to buy a house that needed work and update it to suit their needs and style.   They found the perfect home two blocks away from the beach, except it needed a great deal of work.  Their renovation journey started with the best contractor in town, U.S. ConstructionAC, owned by my husband (tooting my own horn!)  I was able to take pictures along the way.

Here are some before pictures…

As soon as you opened the front door, you were greeted by an ugly mustardy colored closet door (not sure if that is a real color!)          
Before

During…  
My husband built the coat closet flat against the wall instead of protruding out.   Now you can see the soon to be beautiful staircase and the rest of the room when you enter.

Some people like the old arch ways leading to the next room, but this house was going modern and so goes the arches...
The arch way was removed and in the process of plastering and painting.


 Lovely wallpaper and that wonderful mustardy color again!

The kitchen was a blast from the past, drop ceiling, vinyl flooring, dark wood cabinets and a chrome banquet all gets taken out!

Kitchen is getting a well needed makeover… Radiant floor, new walls, new ceilings is installed, ready to be finished.  

My sister who is the kitchen designer did an amazing job designing a functional and beautiful kitchen.


 Lets' not forget the out-dated bathroom!
Already the bathroom is bright and have been reconfigured to have a  better use of space… 

The master bathroom also gets a complete makeover.  Sorry no before pictures of the master bathroom, but you can imagine what is was like before after seeing the rest of the house!


Well its all good, now Heather can put the materials she likes and  have the style of the house she wants.

We are close to the end of this amazing renovation. 

 I hope you come back to see the final reveal! 
Tuesday, September 4, 2012

Great Blow out Sale at One Kings Lane!

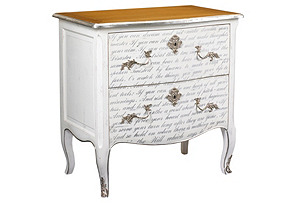
You have to hop on over to One Kings Lane and check out the the amazing Labor Day sale.

$35

$25


$799

$39


$359


$19


Enjoy!

Thursday, August 23, 2012

How to make an envelope pillow case

Hope everyone is having a great summer!  It has been a long time since I've written a post.   I've been so busy playing "Camp Mommy" for my children, I have not had time to do anything creative.  My kids want to go to the beach everyday.  Even though the beach is only a block away,  I still have to watch them in the water.  This is not  the worst past time!  I find my self welcoming the rainy days so that I can at least get some house work done.
Well, enough of my tales of woe,  lets talk about a small project that I did manage to accomplish. I made some throw pillows for my sofas in one of my favorite patterns.
One of the wonderful advantages of throwing in some accent pillows to a room is that they can bring in some well needed color to a space.  Such as my couch that is very brown like the rest of the room.  Adding the throw pillows on the couch broke up the monotonous color.

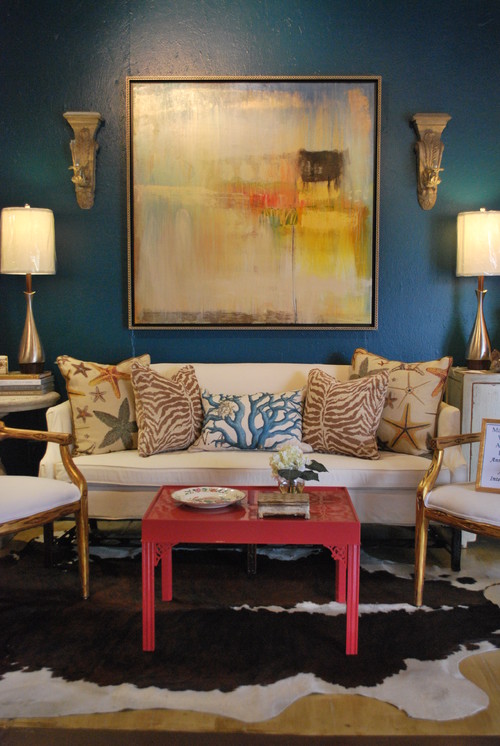
Here are some images of really beautiful pillows...


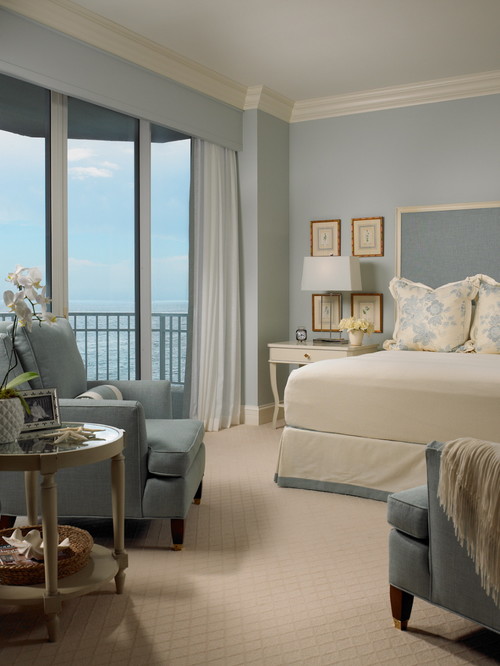
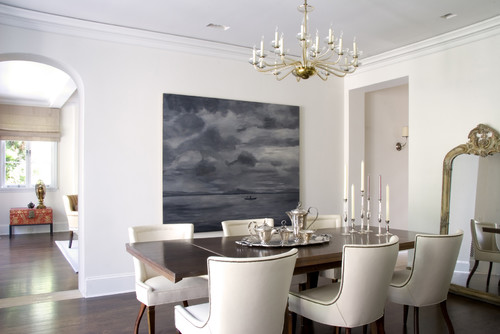
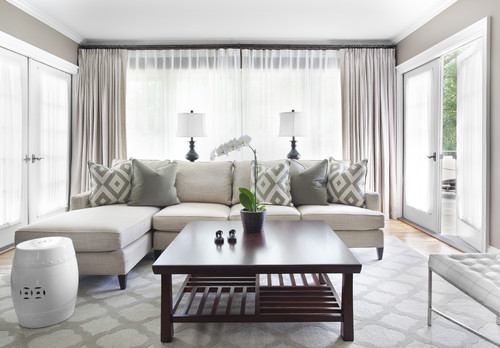
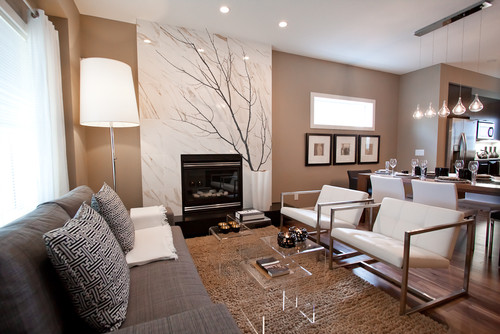
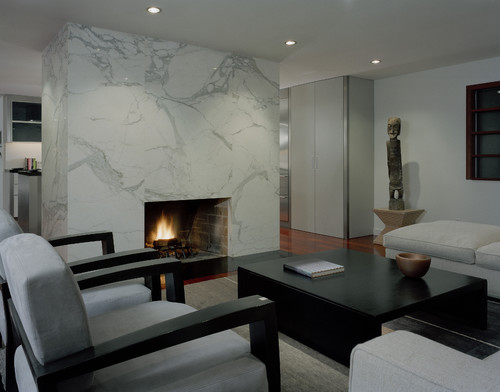
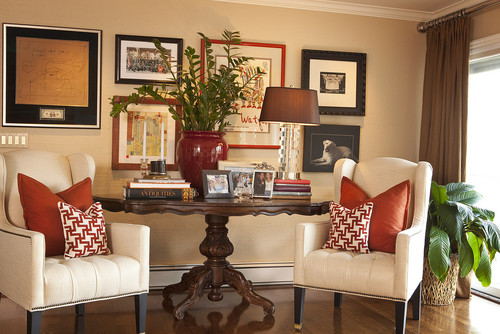
Tropical Living Room design by Miami Architect Errez Design Inc.

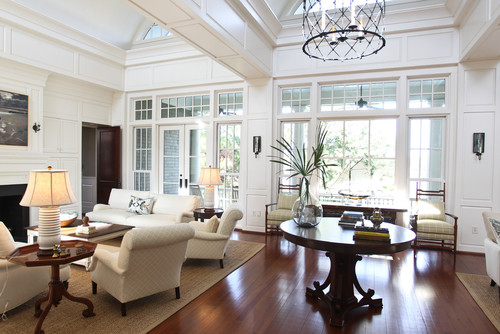
Tropical Living Room design by St Louis Interior Designer Savvy Surrounding Style


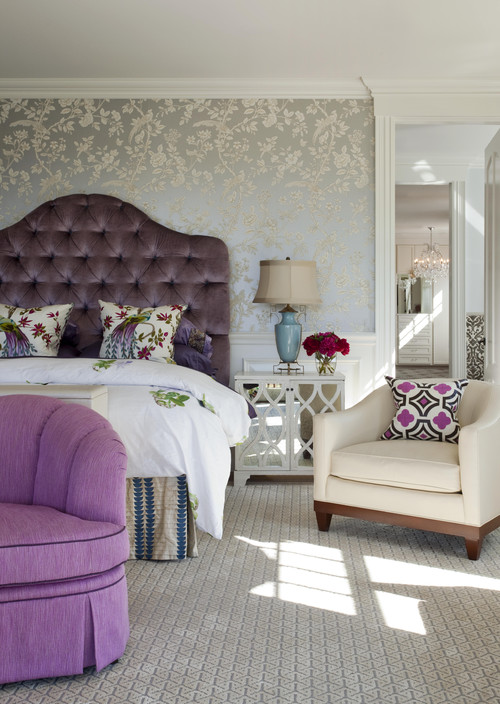
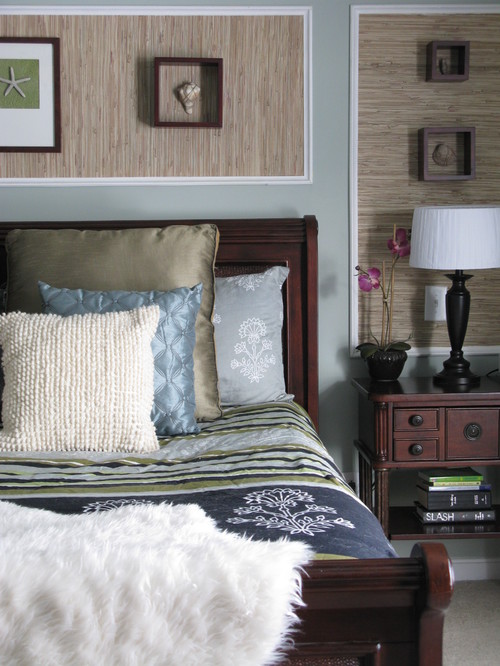
Contemporary Bedroom design by Orange County Interior Designer Jessica Bennett Interiors


Source: horchow.com via Sheer on Pinterest


Source: horchow.com via Sheer on Pinterest


Source: horchow.com via Sheer on Pinterest


                             How to make an envelope pillow

 If you plan to wash the pillow covers, I recommend washing and ironing the fabric beforehand.  This way it will not shrink when its washed later.

What you will need...
- 1 yard of fabric. 
- matching thread
- scissors
- pen/pencil for marking
- yard stick or ruler 
- sewing machine
- measuring tape
- Iron
- pins

How to cut for the pillow


My pillow is 18"X 18", so I cut out one 19"X 19" piece of fabric for the front of the pillow.
For the back side of the pillow, I cut out  19" X  26" piece and cut this piece in half, this way the fabric will overlap nicely.
There should be one 19" X 19" piece for the front  and two 13"X 19" pieces of fabric for the back
Sew a 1/2" hem on one side of the edge of the two 13"X 19" pieces of fabrics.
Repeat this on the other small panel

Sewing all together

Lay the 19"X 19" piece of fabric right  side up
Lay one of the 13"X 19" piece wrong side down over the large  piece from the top.  The hem on the small piece should be at the middle of the large piece. Repeat with the other small piece.
Pin around the edges of the cover with all the pieces of fabric in place.
Sew along the edges using a 1/2" seam allowance.
Remove the pins
Cut excess fabric at the corners on a diagonal, so not to bunch up at the edges
Turn the pillow cover right side out
Put in the pillow form and it is that easy!

This project can be done in about a half an hour and it is so easy!


Have a great day!

Content.ad - Widget 1

LinkWithin

Related Posts Plugin for WordPress, Blogger...