
Thursday, November 28, 2013
Happy Thanksgiving to all!
Happy Thanksgiving to everyone! I hope all are having a great day and spending it with all your loved ones.
Tuesday, November 26, 2013
Easy DIY Christmas ornaments
I love Christmas ornaments, no matter how many ornaments I had, I bought and made more every year. I always felt regretful for buying more each year because I had so many I couldn't even use all of them. It is a sickness I tell you… I couldn't pass up a beautiful ornament. This year I don't have to feel so bad for buying ornaments, because all our decorations were destroyed in Hurricane Sandy… (Not that that was a good thing, I was so upset, because there were very special ornaments my children had made), but one thing I learned with that disaster is, its all material and can be replaced. Now, I have to start collecting and making ornaments all over again, what a bummer! I love to make ornaments, this is a pastime I really enjoy doing and if I am really lucky my kids could be my helpers, chances are I can forget about my 15yr old son, but I still have a chance with my daughter if I can get her to break away from trying to locate Justin Bieber!
Here are my first ornaments for this Christmas, a glittered snowflake...
All I used was:
Wooden snowflake from my local craft store for a
Wooden snowflake from my local craft store for a
dollar
Glue
Silver glitter
Glue
Silver glitter


When you are using glitter, have some newspaper under your project because glitter can get really messy. When you dump the extra glitter off, you can bend the paper into a funnel shape and put the extra glitter back in the bottle to save the excess glitter.

It is so easy!
The next ornament was also so simple, a twine wrapped glass ball.
I used: Shatter proof glass ball from the craft store
Glue
Twine


Simple is good! Have you made any ornaments this year? I would love to see!
Thanks for stopping by!
Linking this post to:
Wednesday, November 13, 2013
Design inspriations
Hi, everyone… I can't believe it is already Wednesday! Hope all is having a good week so far.
I am getting excited that we are nearing the end of our renovation, we still have ways to go, but lot closer to the moving in date. I am really hoping that we'll be in before Christmas!
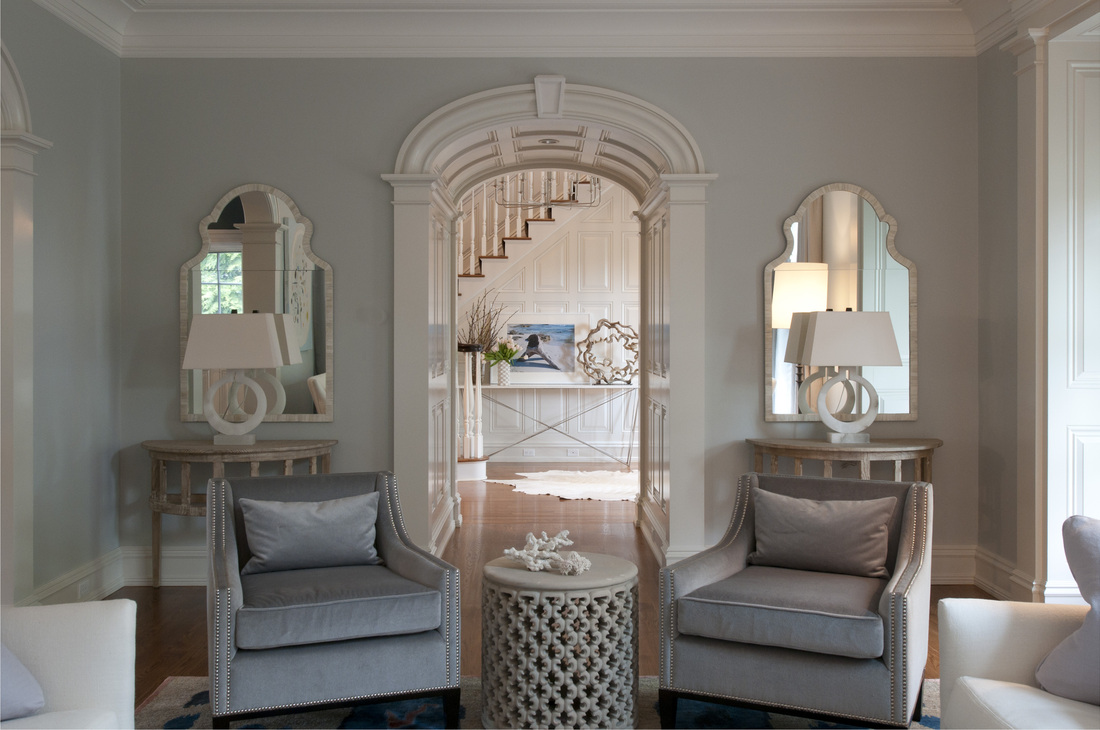
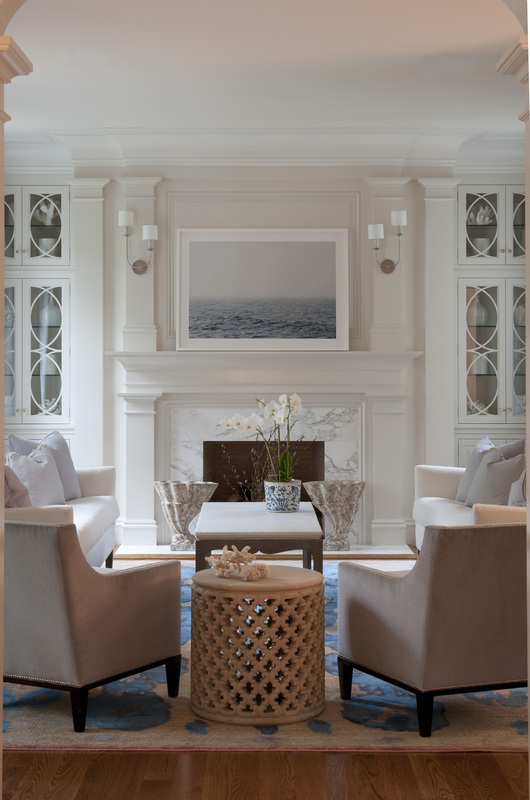
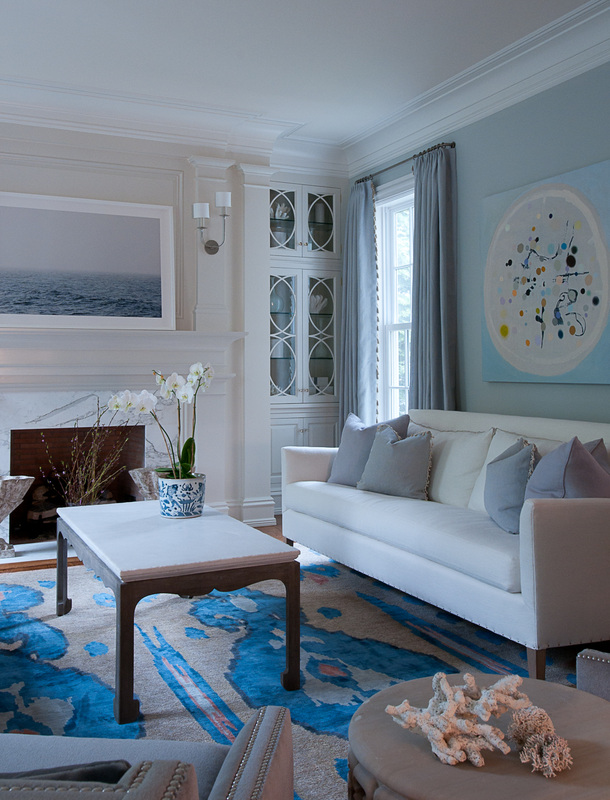
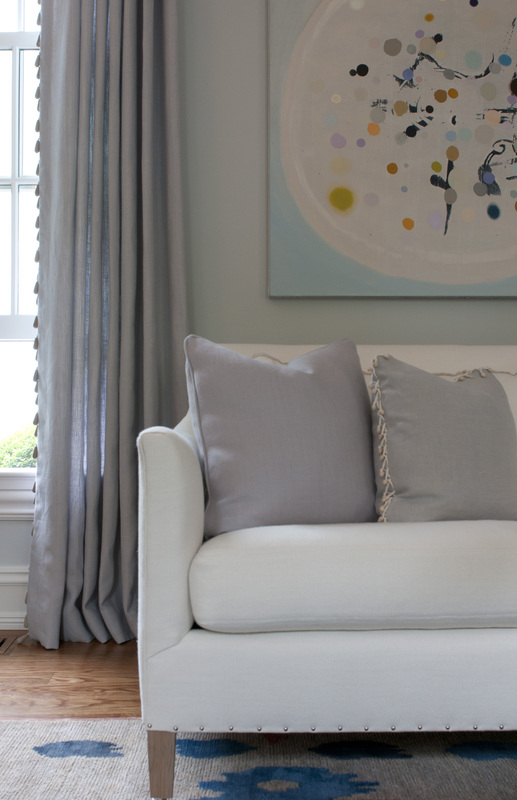
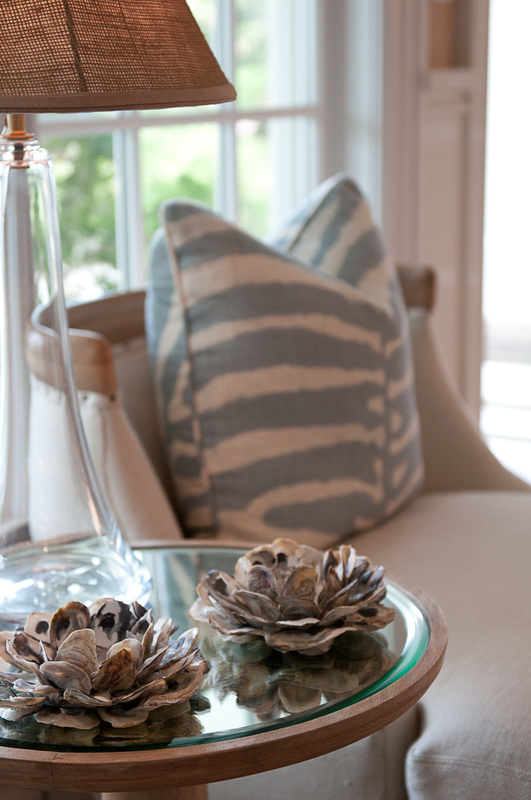
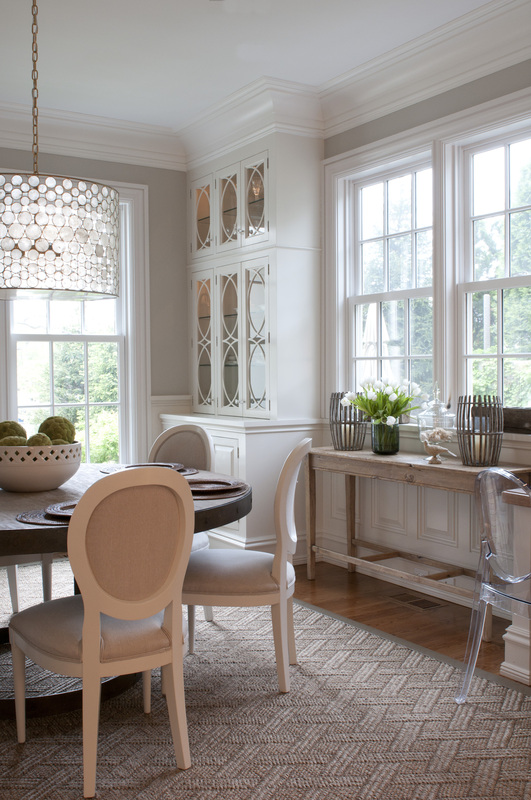
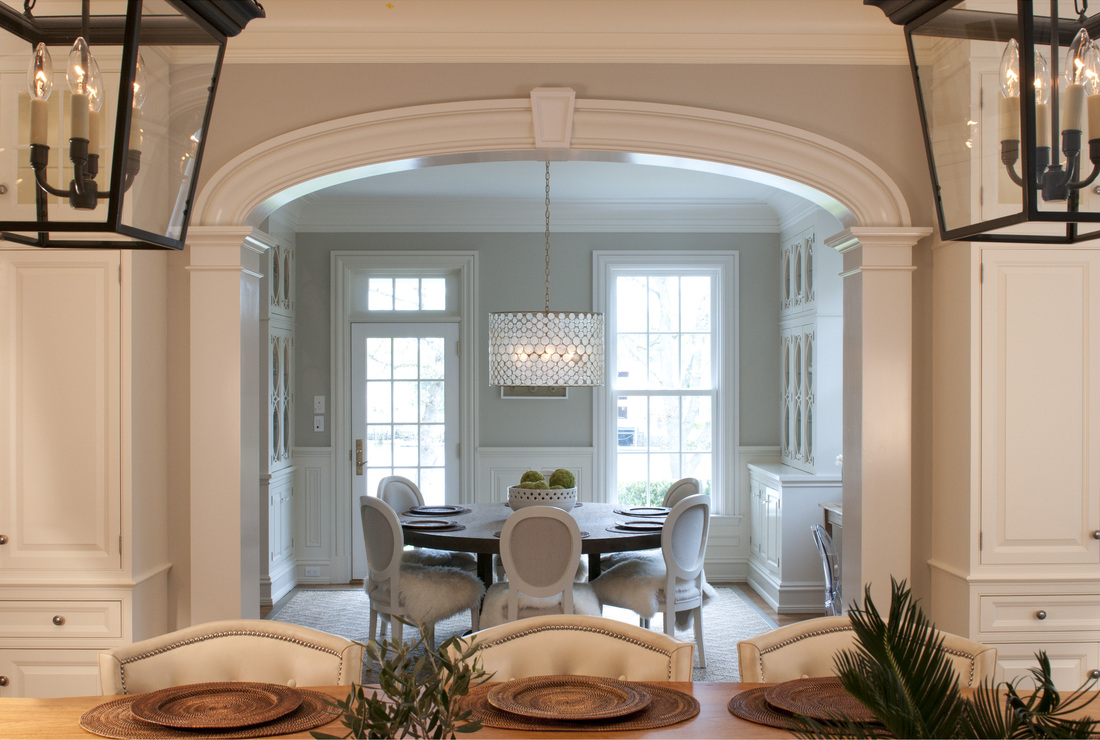
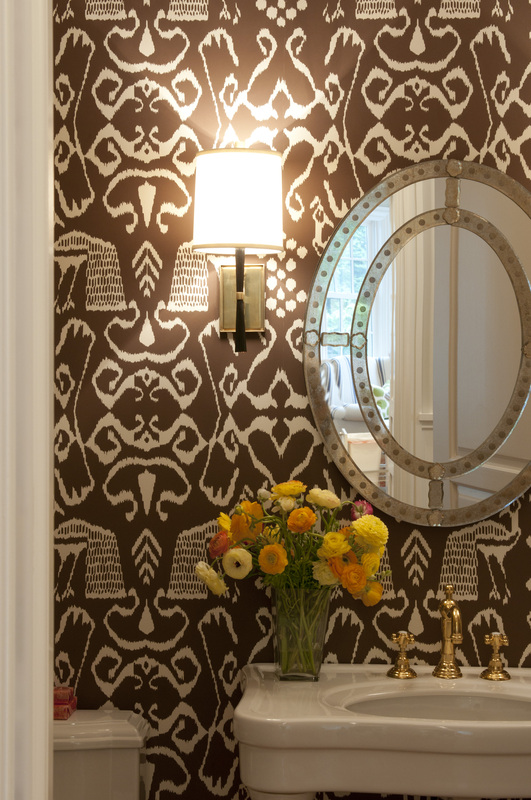
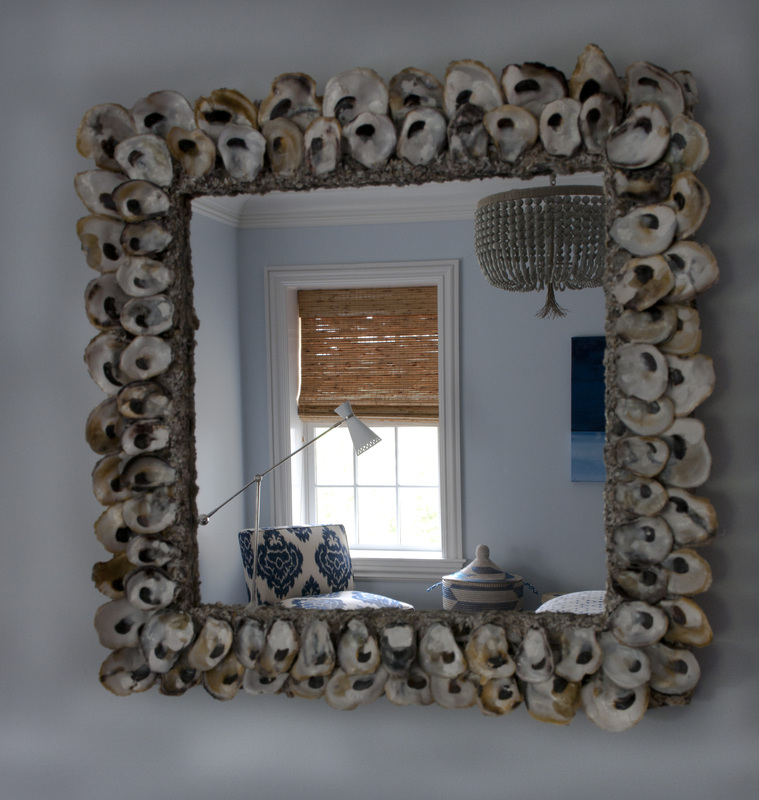
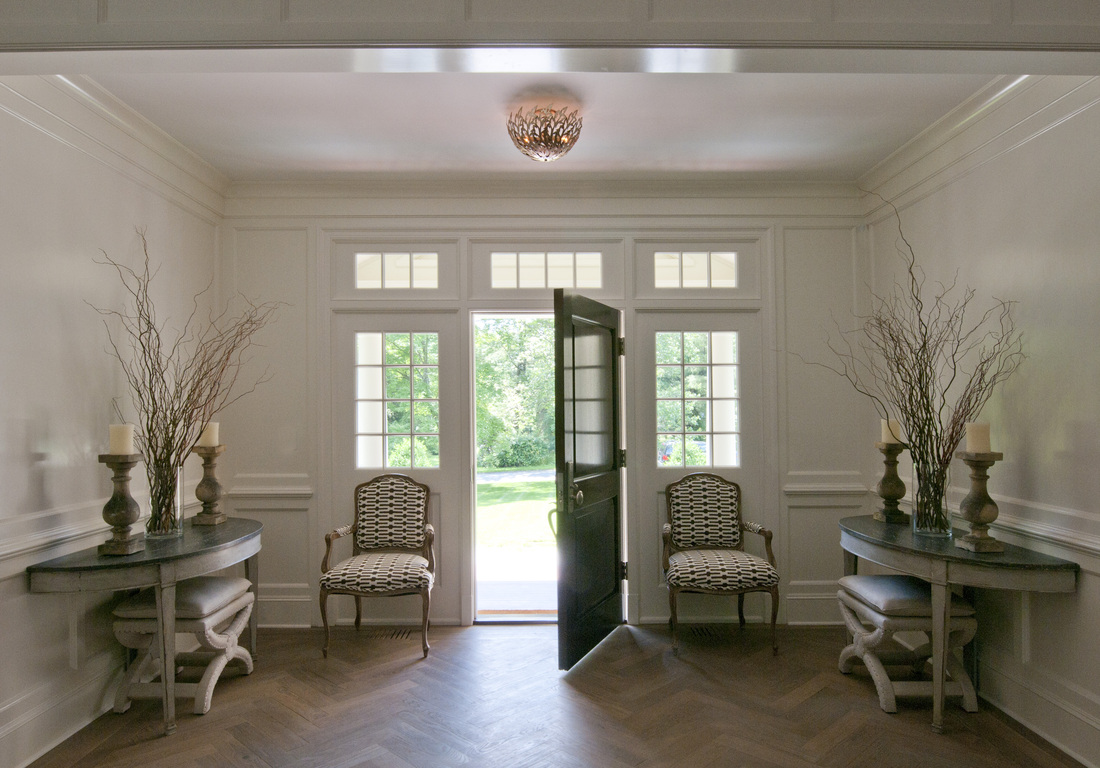
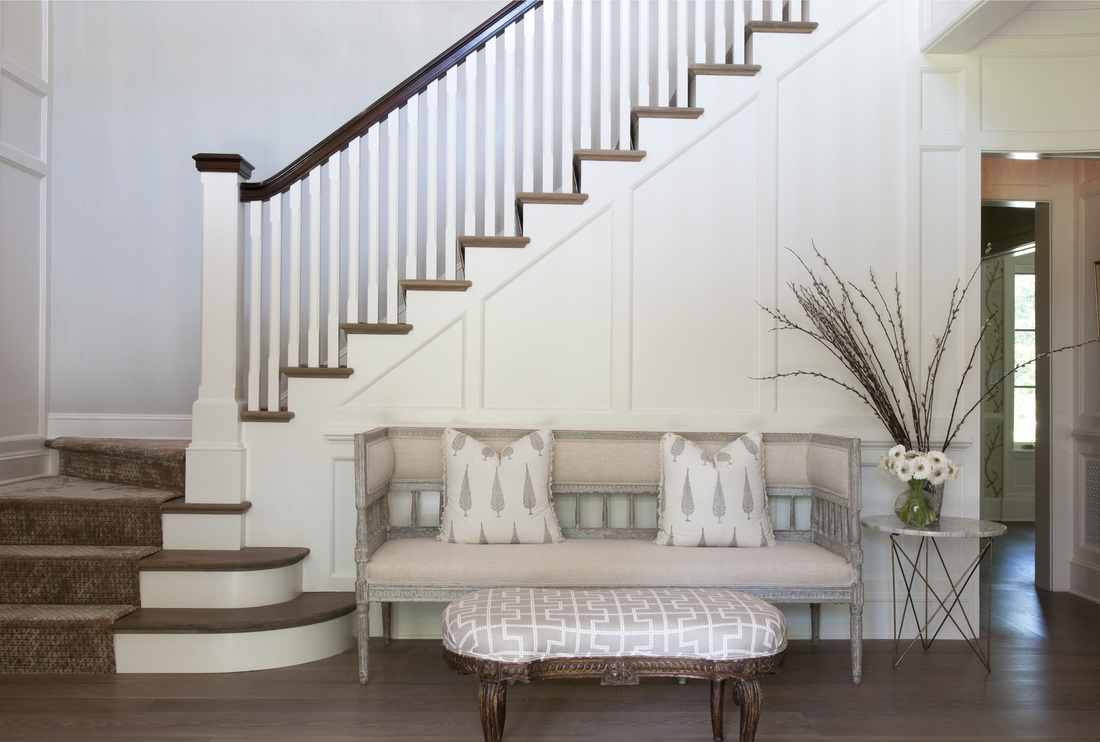
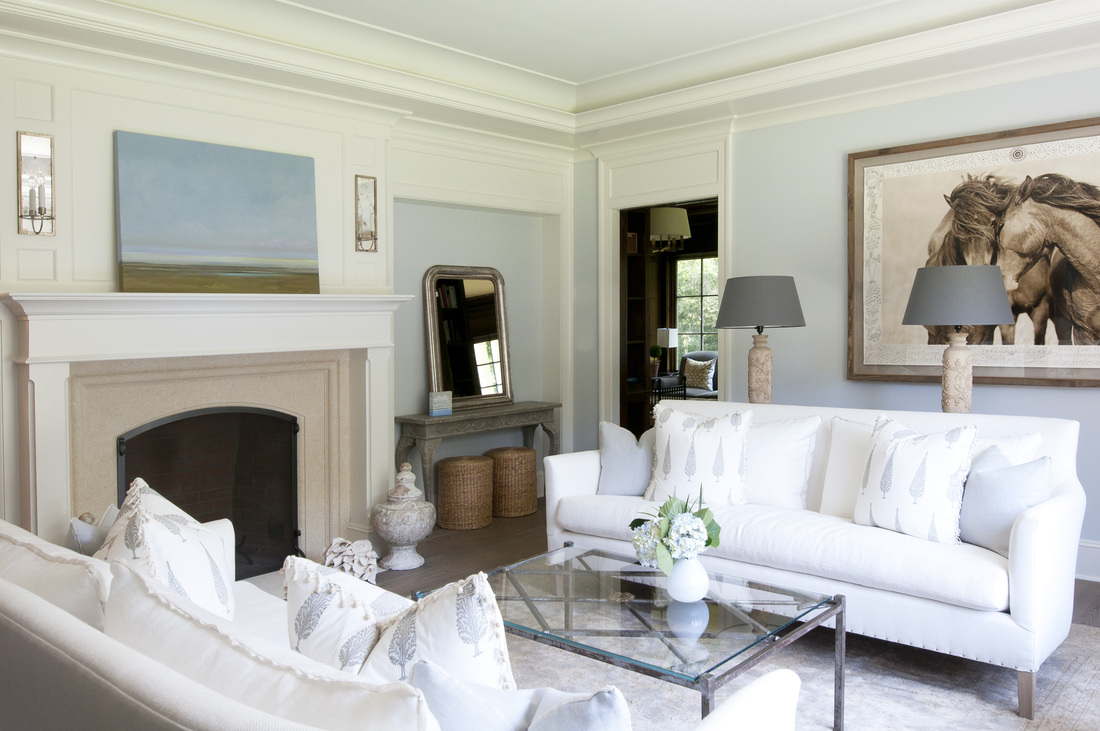
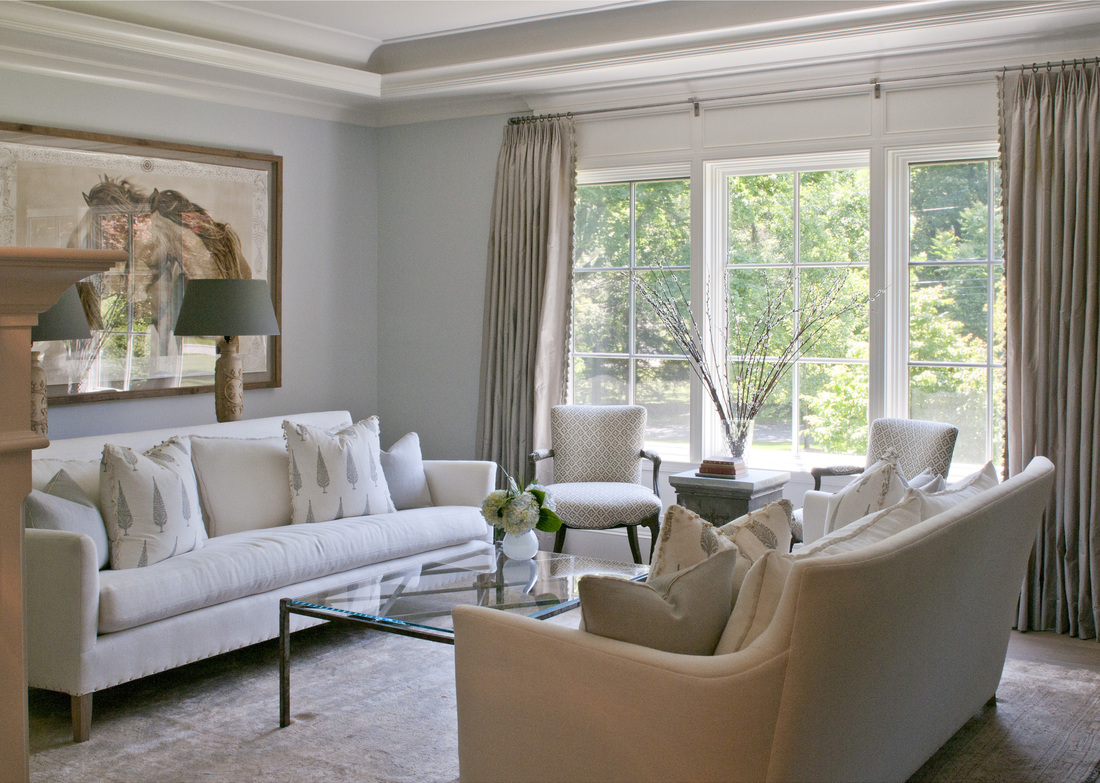
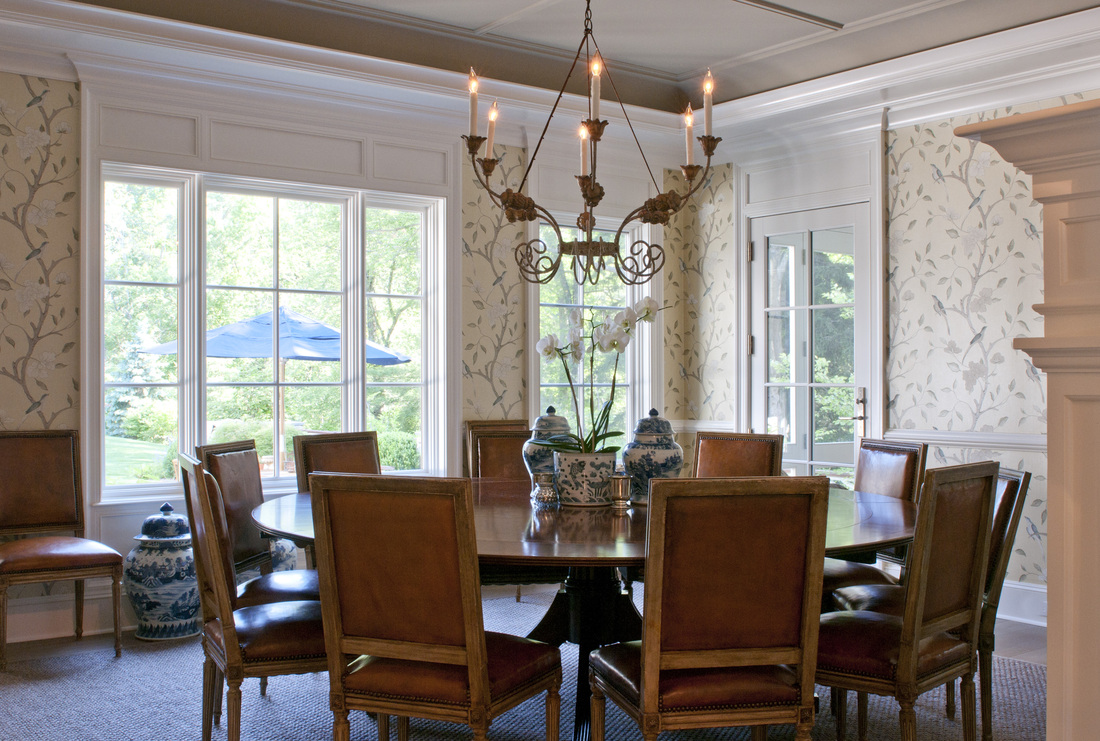
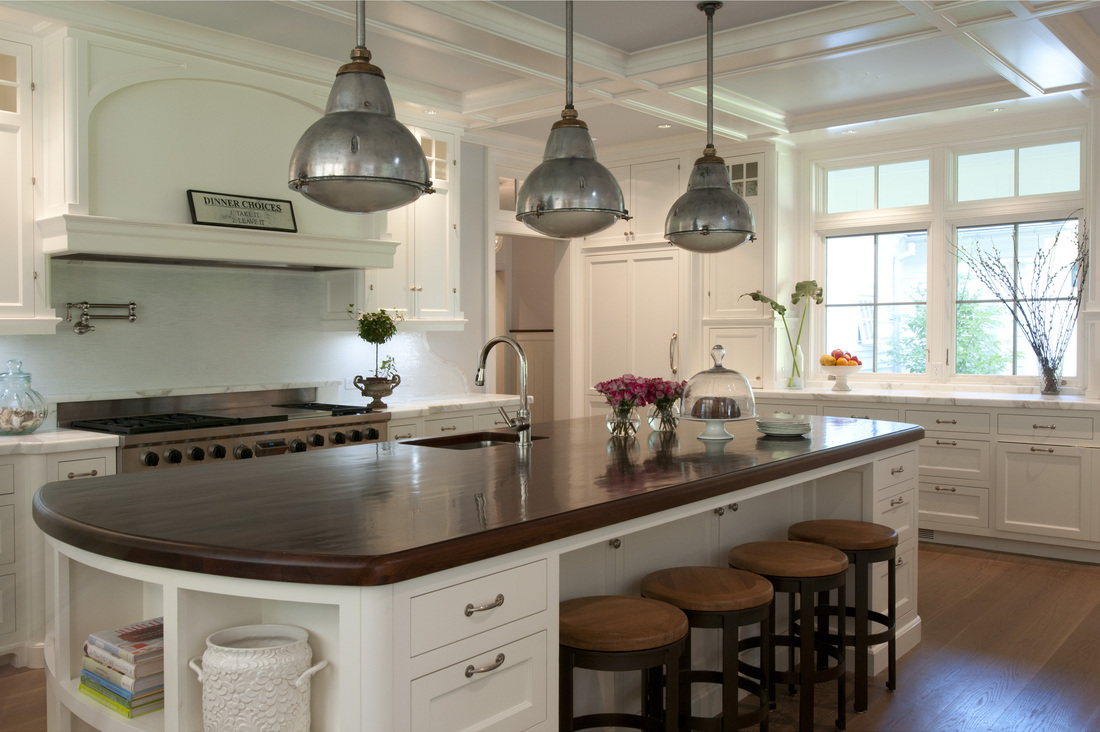
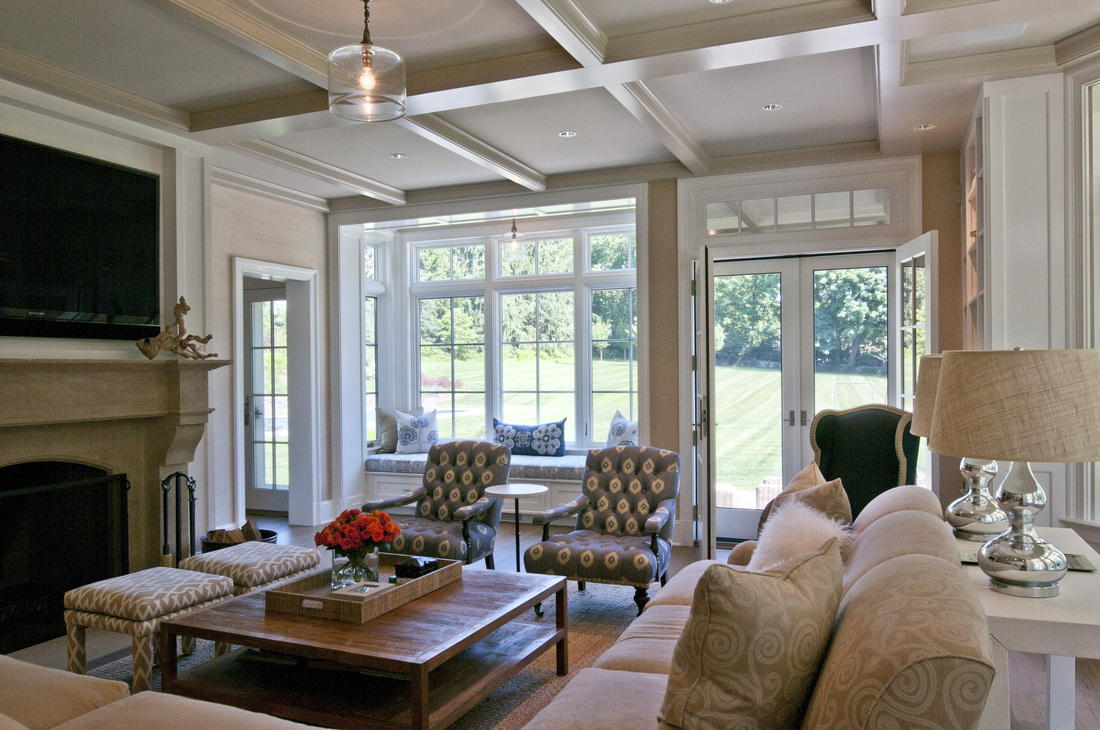
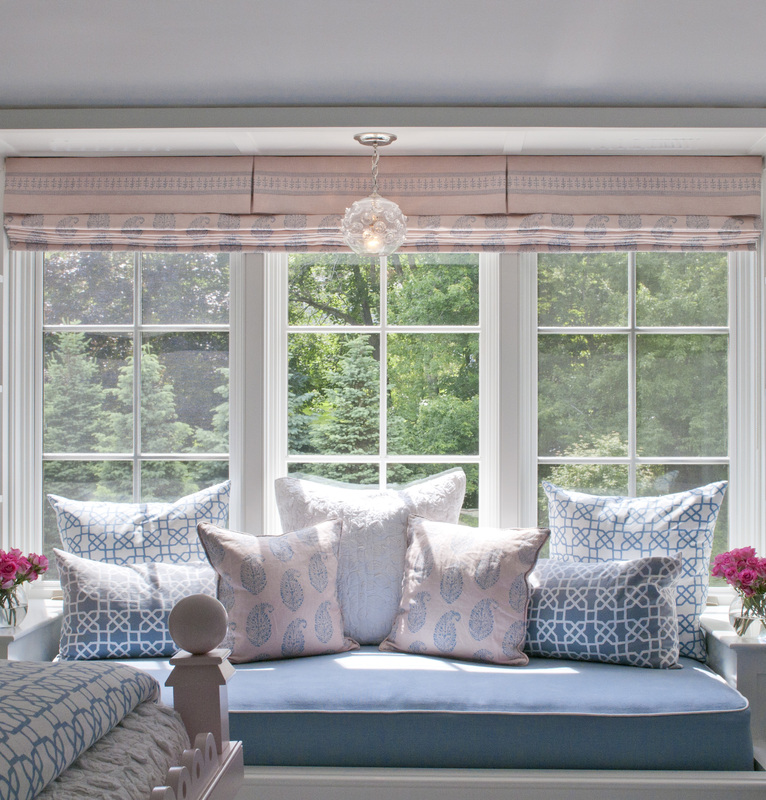
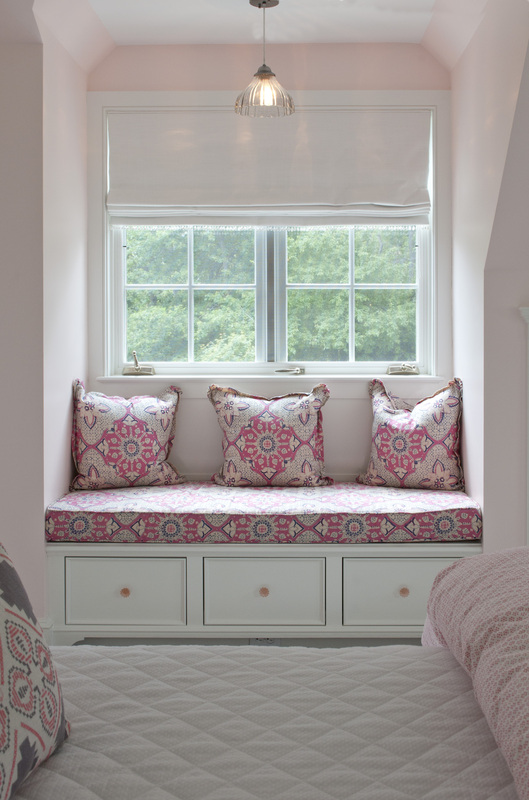
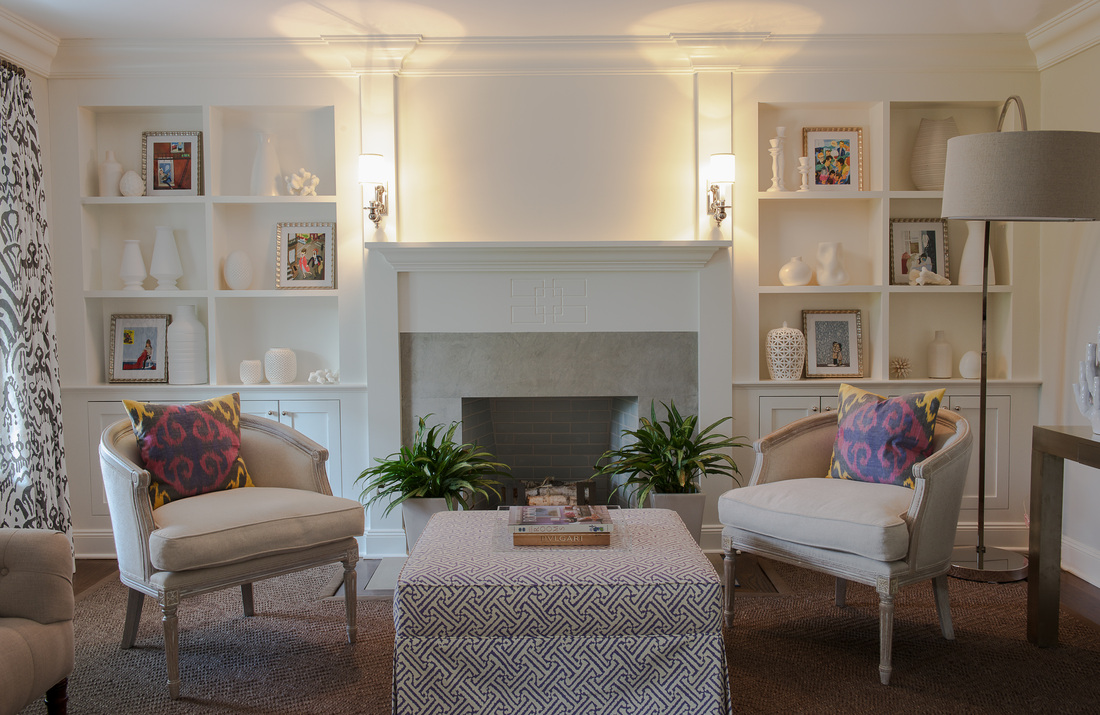
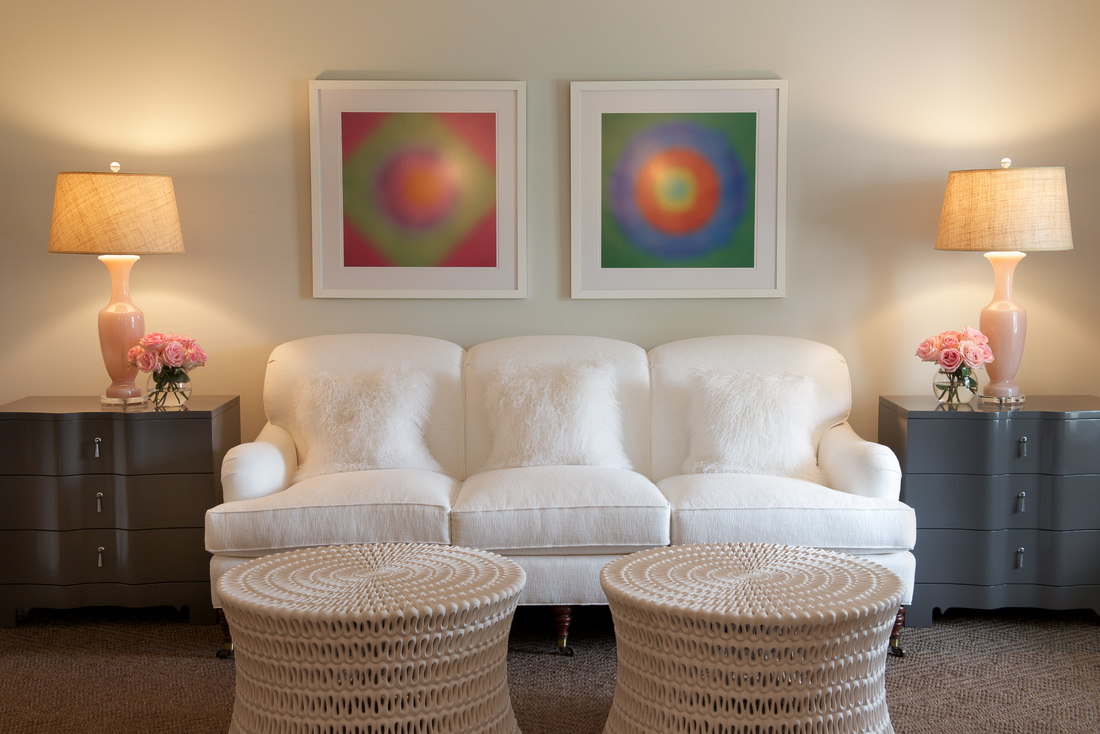
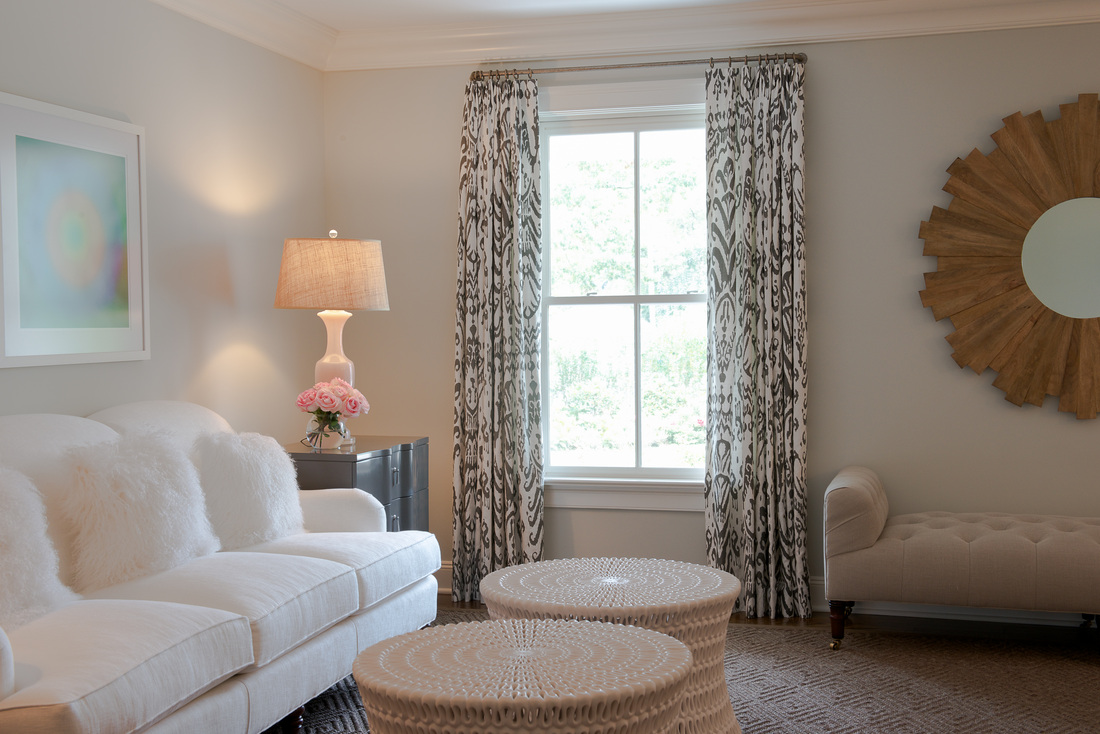
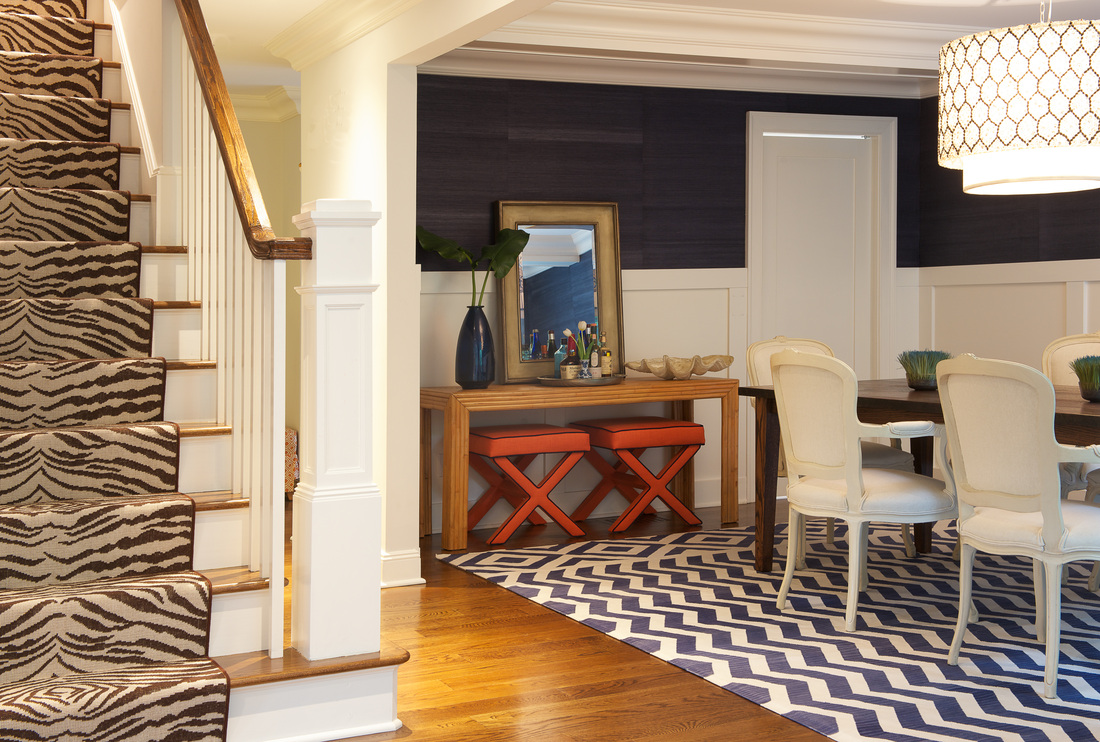
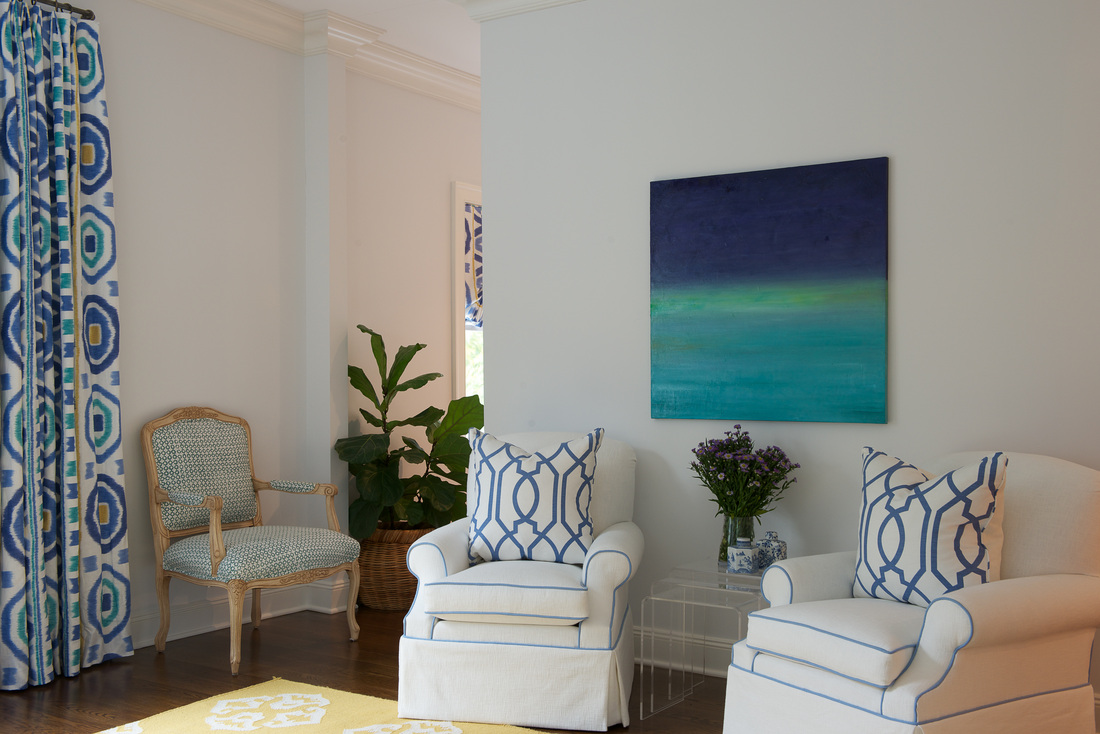
While I was searching for inspirations for my livingroom and bedroom, I came across beautiful spaces created by Julie Nightingale of Nightingale Designs. I love her color palette and her design style.
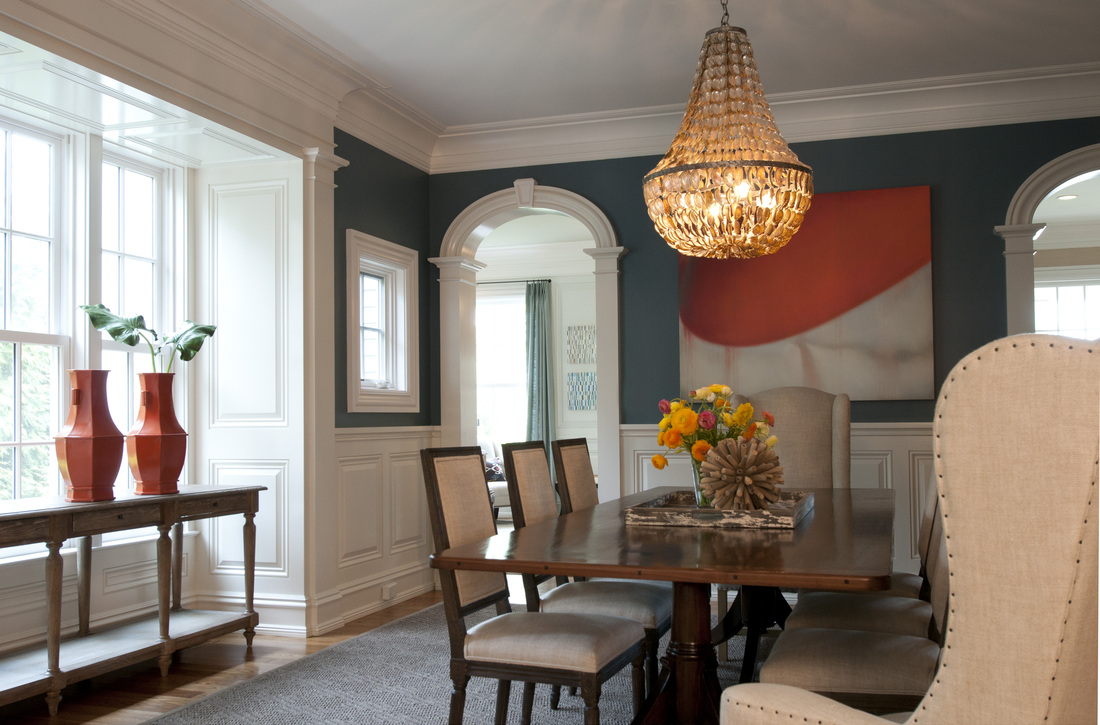
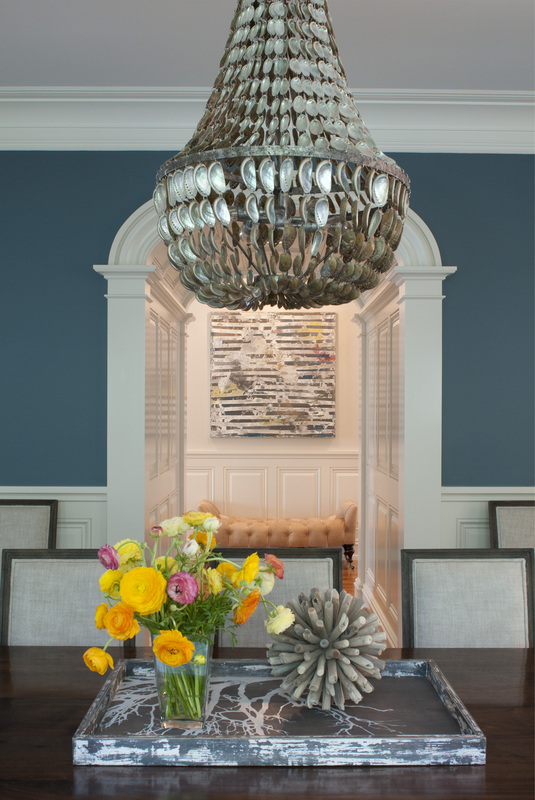
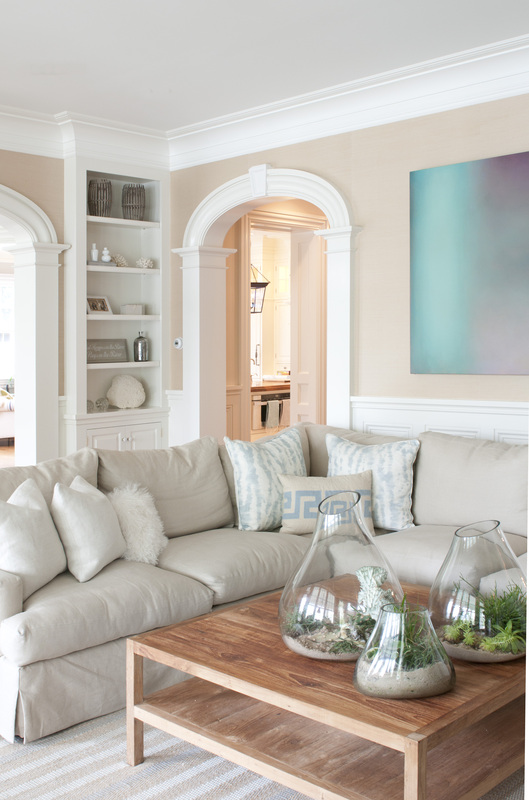
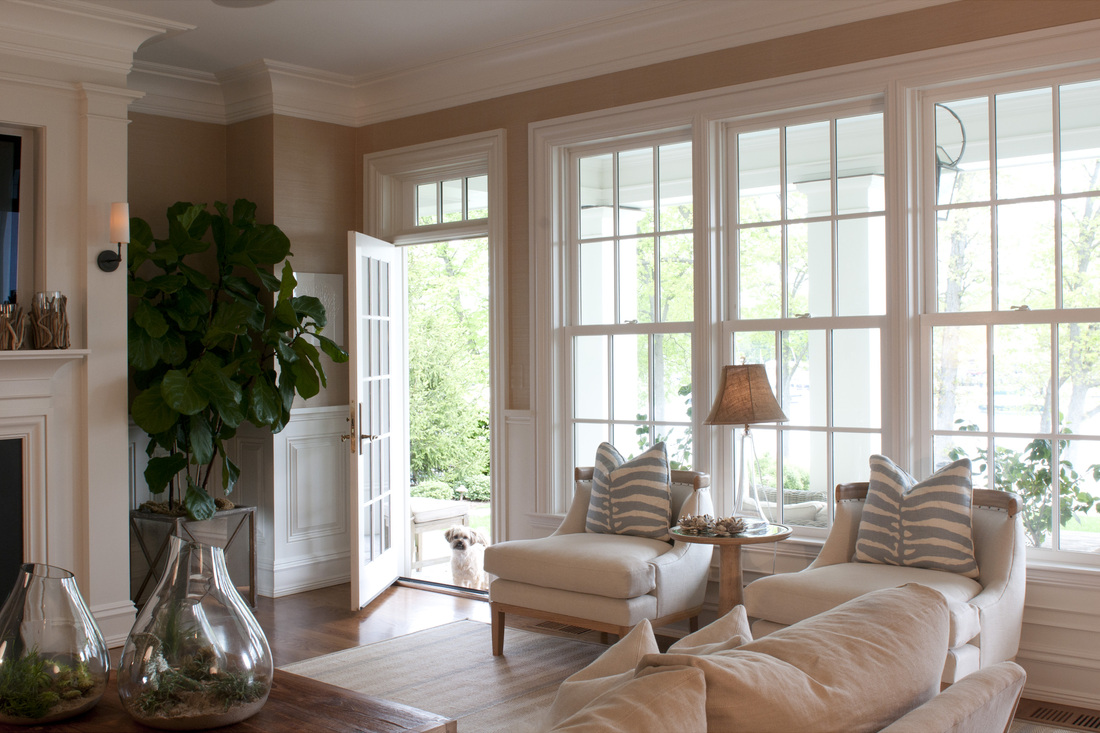


I am getting excited that we are nearing the end of our renovation, we still have ways to go, but lot closer to the moving in date. I am really hoping that we'll be in before Christmas!
While I was searching for inspirations for my livingroom and bedroom, I came across beautiful spaces created by Julie Nightingale of Nightingale Designs. I love her color palette and her design style.
Aren't these rooms gorgeous?
Thanks for stopping by!
Thursday, November 7, 2013
Basement renovation

After Hurricane Sandy, every single home's basement in the coastal area was flooded. At that time, everything in the basements had to be removed and thrown out right down to the sheetrock on the walls if there was any. Some people used their basements solely for storage and laundry area. But, many have incorporated their basements as part of their living space like a family room, extra bedroom, office, work out area, etc.
My husband, the contractor renovated our friend's basement that was destroyed in the storm and now it is a place where they can entertain friends and family. Now, there is a bedrooms for guests, family room, laundry room, bathroom and a wine room.
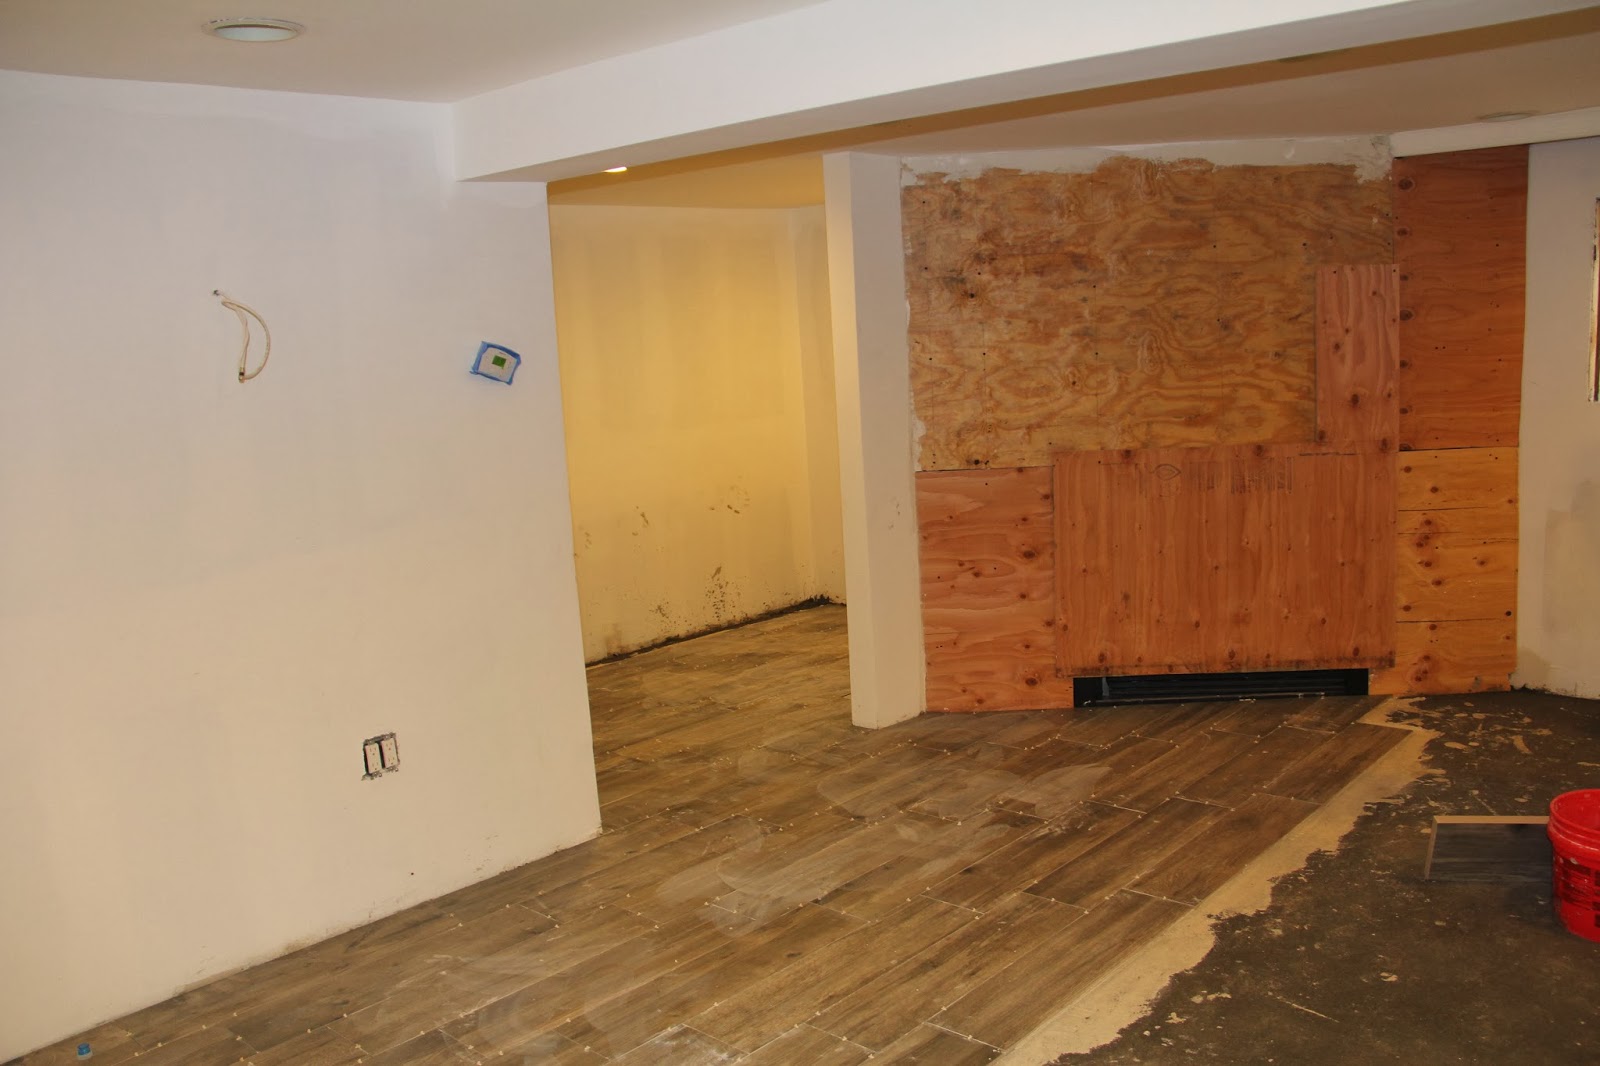
I don't have before photos, this is after they put up the walls and separated the rooms.


They laid down beautiful driftwood color porcelain tiles.

There was an existing fireplace with not much character..., they decided to surround it with ledgestone and it looks amazing!
They decided to surround the fireplace with ledgestone. There were an array of stone choices at the stoneyard, we chose the charcoal gray for a bit of contrast to make it the focal point.

Here it is now with all its beauty! Looks amazing!


They hung a wrought iron wall decor over a door under the stairs to camoflauge the odd door, it worked!


They purchased this really comfortable sectional from West Elm which is easy to disassemble and move, because it is made for apartment living. For them it was because if there was any threat of flood in our area, they can easily bring it upstairs, same went for all their other purchases.


This room that was previously a small kitchen was made into a perfect little wine room. They bought this kitchen cabinet from Ikea to act as a wine bar, my husband tweeked and made it fit incorporating a wine fridge and storage, fits like a glove.


My friends kept a budget in mind, yet without sacrificing style and function. This basement turned out absolutely gorgeous! Don't you think?
Linking to:
Thanks for stopping by!
Subscribe to:
Posts (Atom)