Well, enough of my tales of woe, lets talk about a small project that I did manage to accomplish. I made some throw pillows for my sofas in one of my favorite patterns.
One of the wonderful advantages of throwing in some accent pillows to a room is that they can bring in some well needed color to a space. Such as my couch that is very brown like the rest of the room. Adding the throw pillows on the couch broke up the monotonous color.

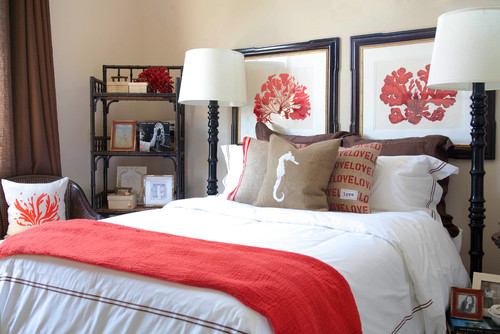
Here are some images of really beautiful pillows...

Contemporary Living Room design by Portland Interior Designer Garrison Hullinger Interior Design Inc.


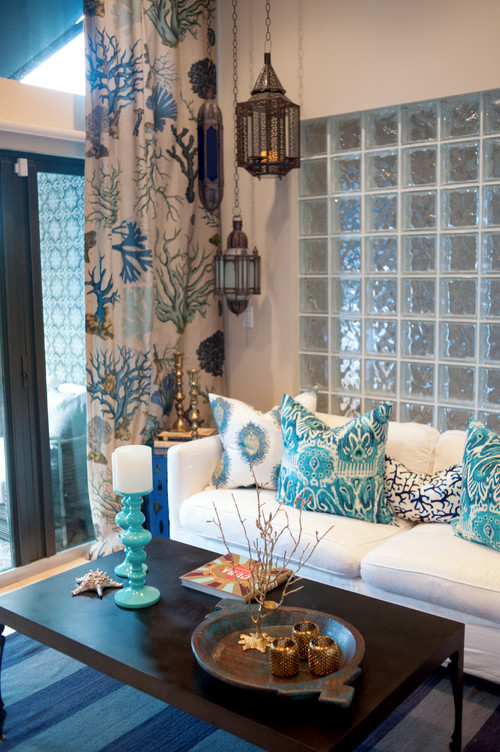
Tropical Living Room design by Miami Architect Errez Design Inc.

Tropical Living Room design by St Louis Interior Designer Savvy Surrounding Style
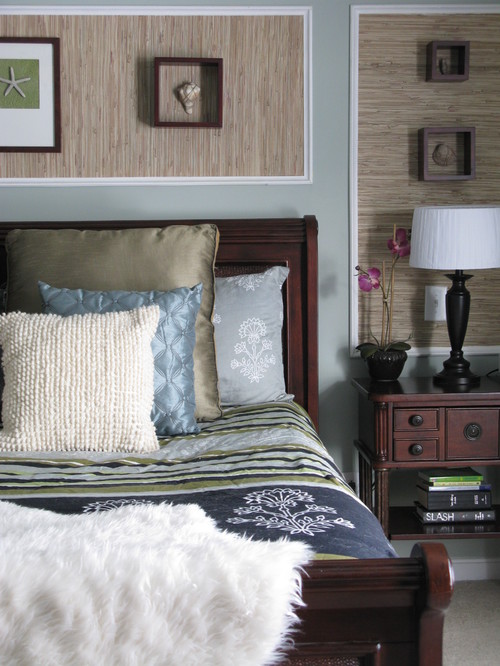
Contemporary Bedroom design by Orange County Interior Designer Jessica Bennett Interiors


How to make an envelope pillow
If you plan to wash the pillow covers, I recommend washing and ironing the fabric beforehand. This way it will not shrink when its washed later.
How to make an envelope pillow
If you plan to wash the pillow covers, I recommend washing and ironing the fabric beforehand. This way it will not shrink when its washed later.
- 1 yard of fabric.
- matching thread
- scissors
- pen/pencil for marking
- yard stick or ruler
- sewing machine
- measuring tape
- Iron
- pins


My pillow is 18"X 18", so I cut out one 19"X 19" piece of fabric for the front of the pillow.
For the back side of the pillow, I cut out 19" X 26" piece and cut this piece in half, this way the fabric will overlap nicely.
There should be one 19" X 19" piece for the front and two 13"X 19" pieces of fabric for the back
Sew a 1/2" hem on one side of the edge of the two 13"X 19" pieces of fabrics.
Repeat this on the other small panel
Sewing all together
Lay the 19"X 19" piece of fabric right side up
Lay one of the 13"X 19" piece wrong side down over the large piece from the top. The hem on the small piece should be at the middle of the large piece. Repeat with the other small piece.
Pin around the edges of the cover with all the pieces of fabric in place.
Sew along the edges using a 1/2" seam allowance.
Remove the pins
Cut excess fabric at the corners on a diagonal, so not to bunch up at the edges
Turn the pillow cover right side out
Put in the pillow form and it is that easy!

This project can be done in about a half an hour and it is so easy!
Have a great day!